Don’t have budget to develop games? No need to worry. There are free software’s to learn and use to develop your game and publish to play store
1. Unity free edition – The free edition has features to develop and publish to play store. Get a copy from unity official website. Assets are available from assets store for free. Tutorial are available on most websites for free. Unity comes with manual for reference. When downloading, ensure android module is selected and installed.
2. Android SDK – it is required to develop and test android games. It is free download on android website. Pick the latest version. It also comes with emulator for testing the game.
3. Photo editor software – MS Windows comes with free MS paint photo editor. If you have MS Office, it comes with photo editor. You can also download free photo editors online.
4. Snipping tool – for capturing screenshots for store upload.
With the above combination you can now start your development process.
a) Develop games on unity. It can be 2D or 3D. Depending on your choice, you can use C# or JavaScript. It is good to use the language you are comfortable with. The assets are drag and drop. Adding component to assets follows same principle or you can add directly from component section.
b) Add images you create using your photo editor. Screen shot can be capture using snipping tool.
c) Generate the APK file for testing – from unity menu, you can generate APK for testing and also upload to store. For the store, you need to sign your file from build menu. No software is required to generate certificate for the same. Unity has all resources for the same.
d) After signing, test your APK using emulator. Install the file on emulator and confirm the game is functioning as required.
e) If all is okay, it is time to upload to store.
UNITY BASIS
1. Know how to locate and open unity in your computer. Unity installs in program files. It also creates shortcut on desktop for launching. Should you update unity, be sure to check the shortcut is for which version. Double click the unity icon to open.
2. Unity opens the list of previous projects done. If you are working on new project, select new.
3. Give the project name and select your preferred location. Keep the location path as short as you can and be sure to note the folder location.

4. Select 3D or 2D depending on the project you are working on. 3D is world space project using x-y-z coordinates.. 2D is x-y.
5. Click create project. This will take some time and the window might disappear from view.
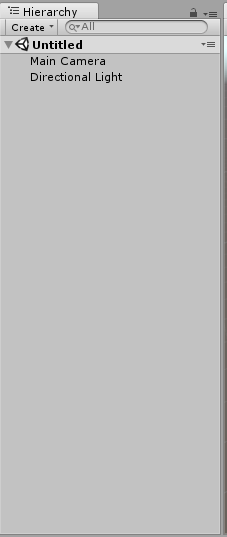
Unity will now open a blank project with camera and light.

Test your project by clicking play button. A blue screen is displayed.

Click on play button again and it returns you to earlier screen. Also be sure to check the games tab, it opens blue screen but note the play button is not highlighted.

This way you know the mode you are in.
Unity editor is split into
- The view screen - Game and Scene view are the default. Other views can be added as and when needed. Scene view is the work space where you add game objects. It could be through drag and drop or adding the directly through various menus.

- The hierarchy - this displays all game objects added to the scene view or during game play. From here one can select on object and tweak the setting or add components to it. Objects can also be added from the create menu.

- Project panel - this displays all assets used in the project. One can add assets and also group similar assets in a folder.

- The inspector - this displays properties of any selected project component/asset/object.

- The main menu - like any other editor, unity has a main menu with list of menu items.


For a basic start, it is important to understand and be able to locate the above. This are the main part one interacts with in a basic project. For advance projects, one is free to add more items to the editor as per the project and user requirement. For now, the tutorial is meant for a beginner with no knowledge in unity.
In unity, object are added either by
Scripting can be done in C# or Javascript. This may require some knowledge on any of the 2 languages. Basic knowledge is need for one to successfully build any game. Scripts are added either from project menu or from assets menu. The naming is done at this point once the script is added to projects assets folder.
New assets can be imported into the project under assets menu. Packages can also be added depending on the functionality needed. Be sure to added assets and packages you need only.
I use C# as I find it much easier to learn and use if you have C++ or Java knowledge..
The blog continues next with Settings needed for a basic android game. All this time we have not used any coins to purchase software or pay subscription. The aim of the tutorial is to show you how you can use 25$ to create android game, publish to play store and make few coins out of it.
- Drag and drop from assets folder in project.
- Add from the hierarchy menu.
- From game object menu.
Scripting can be done in C# or Javascript. This may require some knowledge on any of the 2 languages. Basic knowledge is need for one to successfully build any game. Scripts are added either from project menu or from assets menu. The naming is done at this point once the script is added to projects assets folder.
New assets can be imported into the project under assets menu. Packages can also be added depending on the functionality needed. Be sure to added assets and packages you need only.
I use C# as I find it much easier to learn and use if you have C++ or Java knowledge..
The blog continues next with Settings needed for a basic android game. All this time we have not used any coins to purchase software or pay subscription. The aim of the tutorial is to show you how you can use 25$ to create android game, publish to play store and make few coins out of it.
By this time you need to have android SDK with you. Download and mark the folder.
It is advisable to set all setting early in development. This make it easier for you to package the APK file in the end.
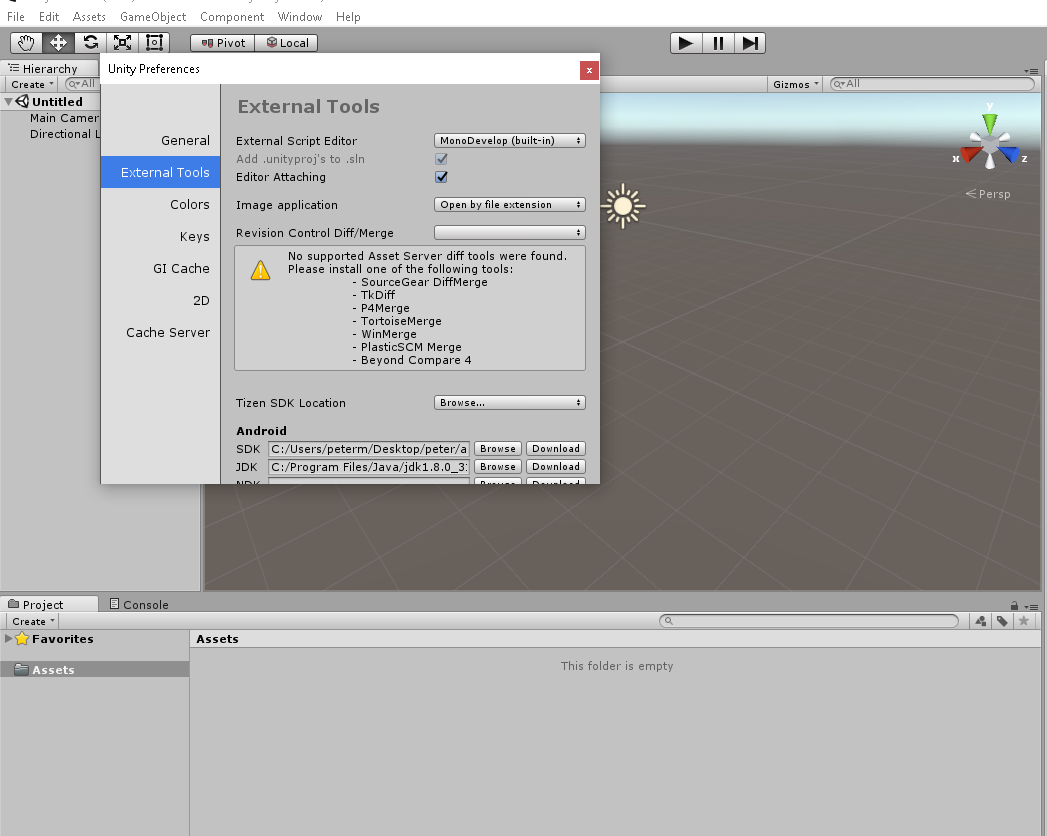
Adding android SDK: Go to Edit menu -> preferences. In the new screen, give SDK and JDK (Java Development Kit) paths under External tools. Close the screen.

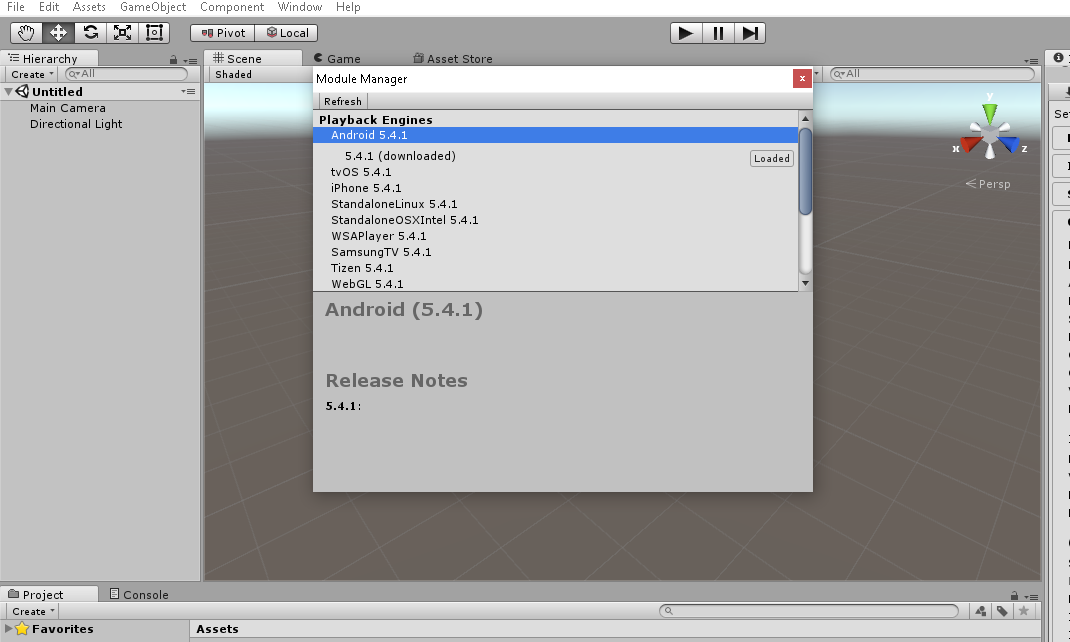
Confirm under Edit menu -> modules that android is installed and loaded.

Go to File menu -> build settings and select android under platform and click switch platform. The project is now set for android development.
The default scene load is not saved by default. Go to File menu -> save scene as. Create a folder inside assets folder and call it Scenes. Give the name of the scene and save.
Go back to File menu -> build settings and click add open scene. This adds current scene to build. When playing game after build, the first scene (0) is loaded first and depending on your coding all other scenes can be loaded.
Still in File menu -> build settings, click player settings. Navigate to other settings and scroll down to identification. in the bundle identifier add com.Company.ProductName where company is your company name and productname is the name of your game.

At this point, you don't need to specify the publishing settings. This can be done when you are ready to publish your game to Playstore.
Save scene and save project.
It is advisable to set all setting early in development. This make it easier for you to package the APK file in the end.
Adding android SDK: Go to Edit menu -> preferences. In the new screen, give SDK and JDK (Java Development Kit) paths under External tools. Close the screen.
Confirm under Edit menu -> modules that android is installed and loaded.
Go to File menu -> build settings and select android under platform and click switch platform. The project is now set for android development.
The default scene load is not saved by default. Go to File menu -> save scene as. Create a folder inside assets folder and call it Scenes. Give the name of the scene and save.
Go back to File menu -> build settings and click add open scene. This adds current scene to build. When playing game after build, the first scene (0) is loaded first and depending on your coding all other scenes can be loaded.
Still in File menu -> build settings, click player settings. Navigate to other settings and scroll down to identification. in the bundle identifier add com.Company.ProductName where company is your company name and productname is the name of your game.

At this point, you don't need to specify the publishing settings. This can be done when you are ready to publish your game to Playstore.
Save scene and save project.
No comments:
Post a Comment